Pan-Fried Krispy Kremes: The Ultimate Caramelized Donut Dessert Hack
We have all been there: you open a box of day-old glazed donuts, hoping for that melt-in-your-mouth magic, only to find they have gone slightly stale, soft, or aggressively average. You consider popping them in the microwave, but we know how that goes—they turn into hot, structural puddles that go cold and rubbery in less than sixty seconds. But what if I told you that the secret to reviving those spuds of dough into a dessert that rivals an upscale bistro doesn’t require a professional bakery setup or an expensive pastry degree?
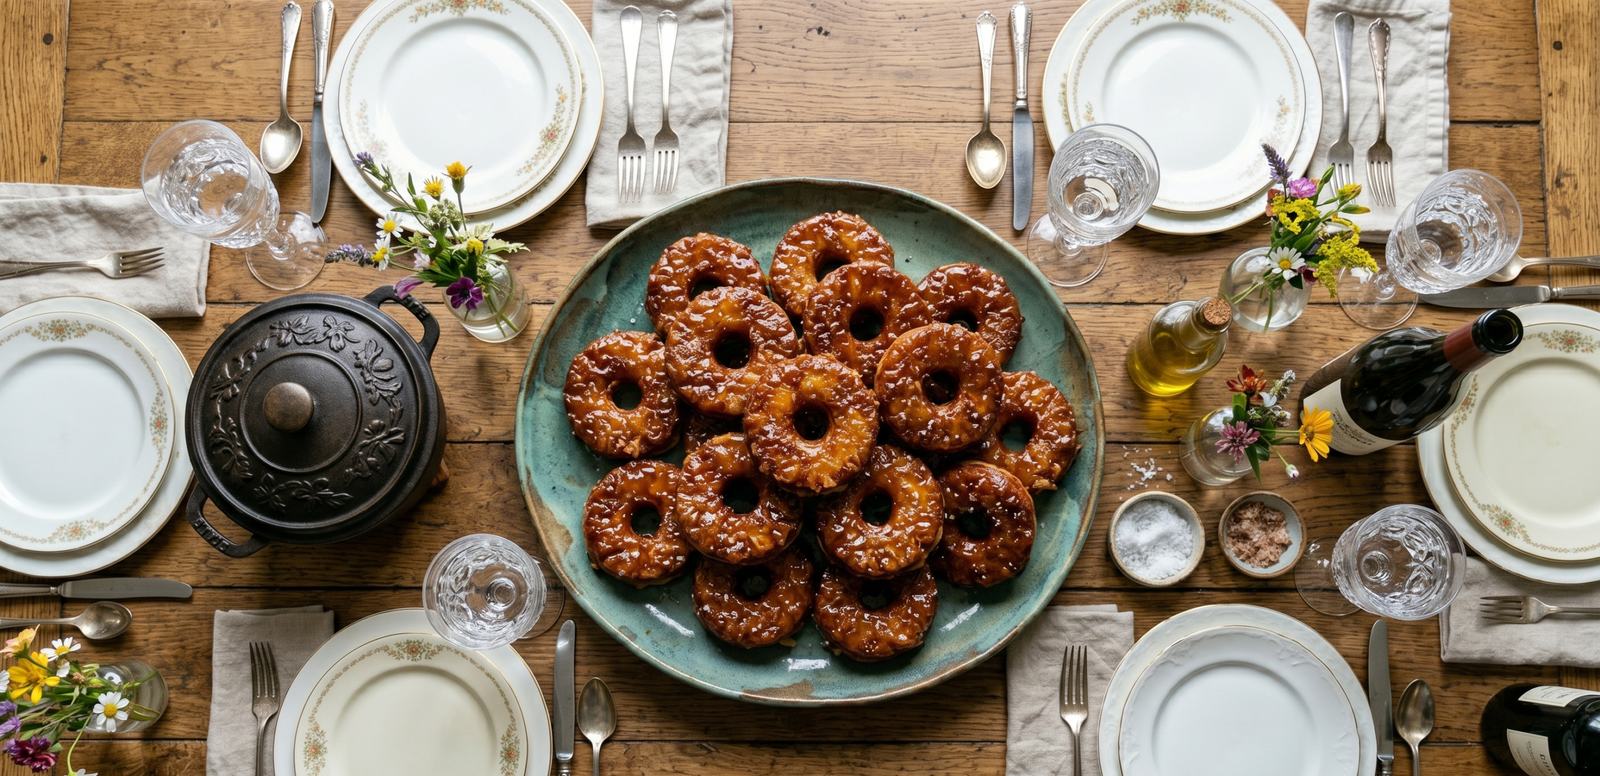
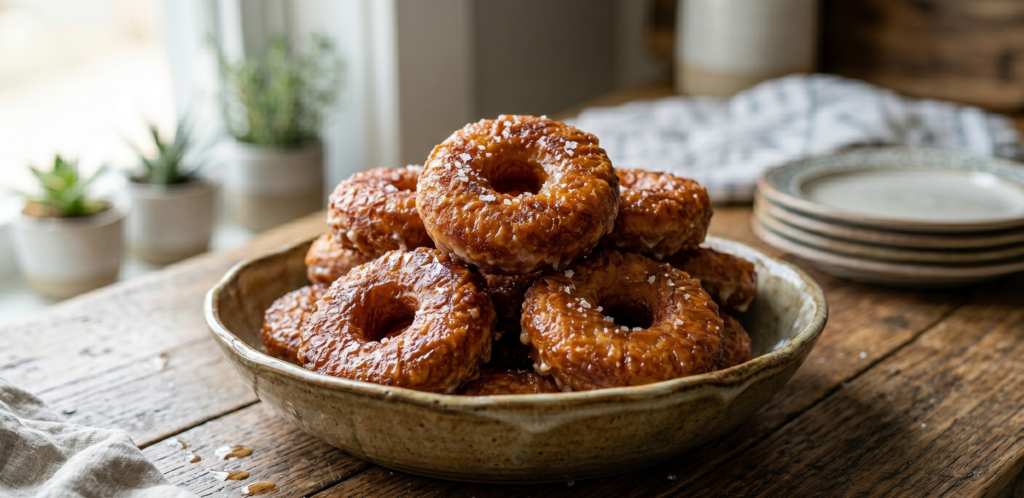
Enter the ultimate solution for an effortless, show-stopping sweet treat: Pan-Fried Krispy Kremes. This genius dessert hack delivers a spectacular contrast of textures—a warm, deeply caramelized, shattering sugar crust meets a pillowy, cloud-like, and buttery interior that completely wakes up your palate. It proves that you do not need a massive grocery bill or hours of complicated culinary training to achieve absolute dessert perfection right on your stovetop.
The secret behind why this technique works so beautifully relies on basic food science and a common pantry staple you already own. By introducing a thin layer of high-quality butter to a hot skillet, you create a perfect high-heat transfer medium for the donut’s existing sugar glaze. When the intense heat hits the glaze, the sugars rapidly reduce, liquefy, and undergo pyrolysis—triggering a rapid caramelization that creates a deeply blistered, crackling exterior crust while trapping internal moisture inside. Once you learn this simple, game-changing method, you will never eat a standard glazed donut the old way again.
Why You’ll Love This Recipe
- Incredibly Budget-Friendly: You only need a basic box of glazed donuts and a scoop of standard pantry butter, keeping your total out-of-pocket cost exceptionally low.
- Better-Than-Restaurant Texture: This specific searing method maximizes the surface area of the caramelized glaze, creating a thick, micro-blistered, shattering outer shell while keeping the inside beautifully fluffy and tender.
- Set It and Forget It Quick Prep: The hands-on assembly takes less than two minutes, and the skillet does all the heavy lifting in a flash, making it the perfect last-minute dessert hack.
- Infinitely Customizable: While the classic caramelized sugar profile is flawless on its own, this technique serves as a blank canvas for any of your favorite ice creams, sweet spreads, or berry additions.
Ingredients You’ll Need
- Krispy Kreme Donuts: 4 original glazed donuts (fresh or day-old work perfectly)
- Unsalted Butter: 2 tablespoons (the magic frying fat!)
- Kosher Salt: A tiny pinch (the secret ingredient to balance the intense sweetness)
- Cinnamon or Nutmeg: A pinch to enhance the warm flavor profile (optional)
Ingredient Notes & Substitutions
Choosing the right base components makes a massive difference in your final dish. Original glazed yeast donuts are the absolute star of the show here because their light, airy structure expands beautifully when heated, and their uniform outer glaze provides the perfect amount of sugar to build that signature crunchy crust. If you cannot find Krispy Kreme, any high-quality yeast-risen glazed donut makes a fantastic alternative; however, avoid cake-style donuts, as they lack the elasticity and air pockets needed for a pillowy center and will turn dense and crumbly in the pan.
For the fat, high-quality unsalted butter is preferred for a rich, clean, and classic flavor that mimics high-end bistro desserts perfectly. If you want to take this to a truly decadent level, you can use clarified butter (ghee) or even a small brush of melted duck fat. Avoid low-fat spreads or margarine varieties at all costs, as they contain excess water and stabilizers that will steam-roll your sugar crust, leaving it soft instead of shattering and crisp.
Step-by-Step Instructions
Step 1: Prep and Slice the Donuts
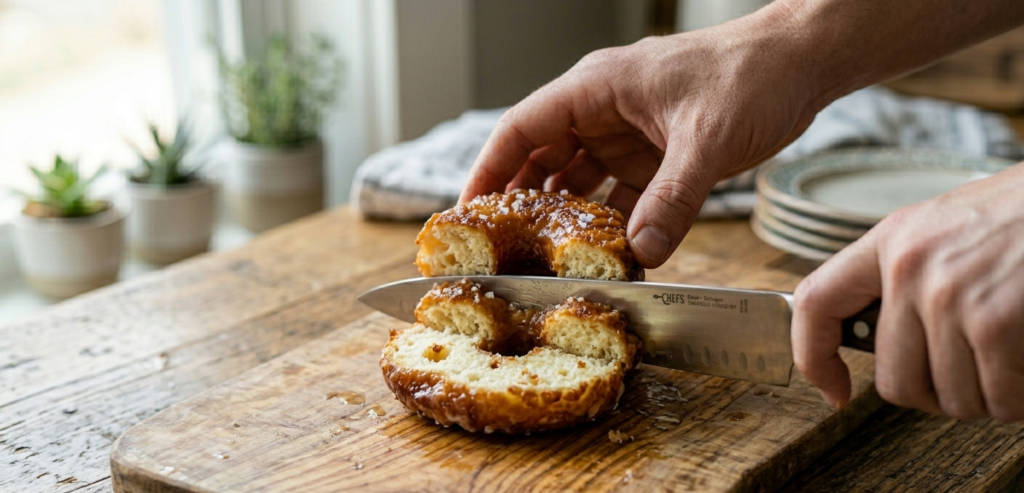
Gently place your glazed donuts onto a large wooden cutting board. Using a sharp chef’s knife or a serrated bread knife, slice each donut completely in half horizontally to create two uniform rounds. Cutting them open increases the internal surface area, allowing the interior crumb to absorb the rich butter directly while ensuring the exterior glaze can hit the hot skillet evenly.
Step 2: Melt the Magic Butter Base
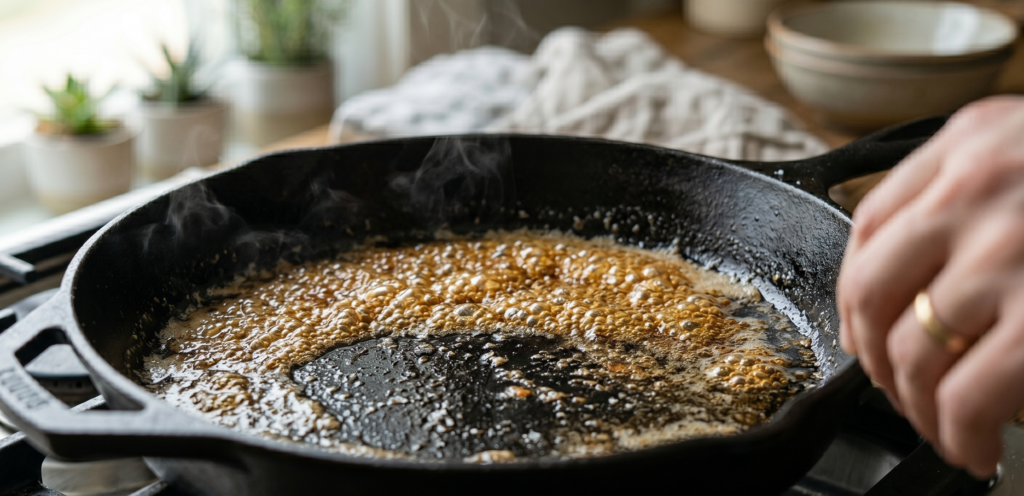
Place a large cast-iron skillet or flat-top griddle over medium heat and drop in your unsalted butter. Let the butter melt completely until it begins to foam slightly and turn a beautiful amber color. Dust the shimmering fat elegantly with a tiny pinch of kosher salt and a dash of ground cinnamon to infuse the cooking base with warm flavor notes.
Step 3: Sear to Caramelized Perfection
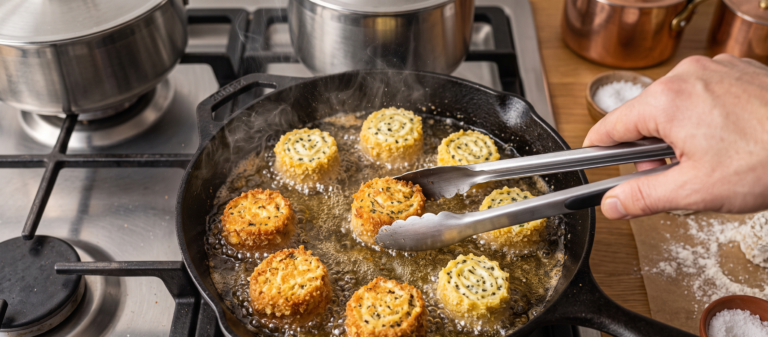
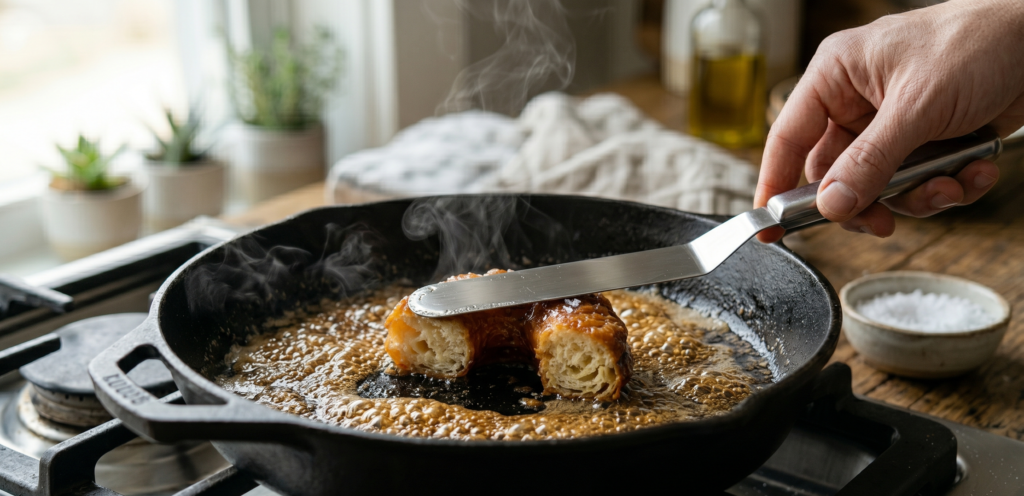
Lay the sliced donuts directly into the hot skillet, placing them glaze-side down first. Use a sturdy, flat spatula or a burger press to press down lightly on the dough for 5 seconds to ensure the craggy surfaces make complete contact with the iron. Let them cook entirely undisturbed for about 2 to 3 minutes, allowing the high heat to blister and caramelize the sugars before the interior can dry out.
Step 4: Flip and Heat Through
Carefully slide your spatula underneath the caramelized layer and flip the entire donut piece over effortlessly. Let the interior side toast against the remaining butter for an additional 1 minute until it becomes golden, lightly blistered, and completely warmed through.
Step 5: Rest and Serve Hot
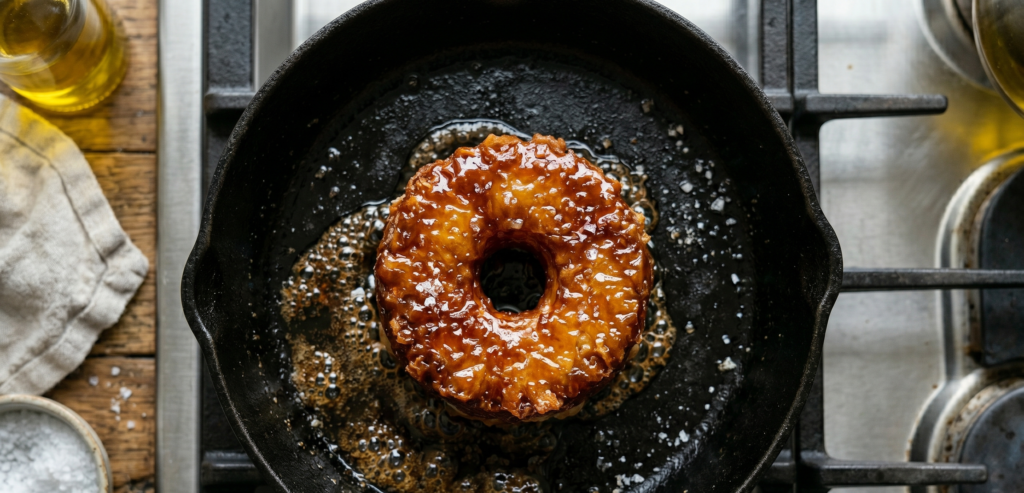
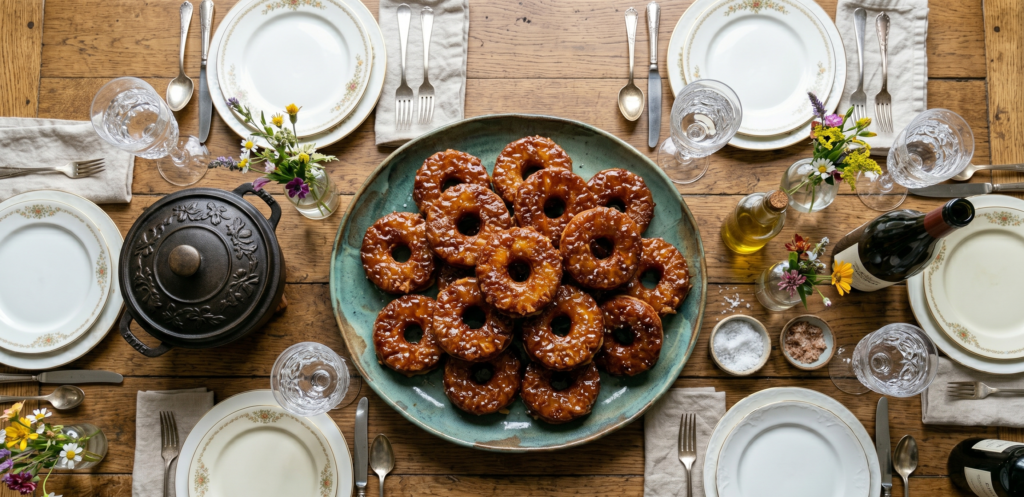
Remove the hot, crispy pastries from the skillet and transfer them onto a gorgeous ceramic serving platter. Let them sit quietly for exactly two minutes; this short rest is crucial because it allows the molten hot sugar crust to cool slightly and set into a perfectly crisp, snappy shell before serving.
Tips for Perfect Results
- Don’t Crowd the Pan: If you try to fry too many donuts at once, the temperature of your skillet will drop rapidly. The sugar will melt excessively and run together into a messy pool instead of searing into a crisp shell.
- Let the Crust Cool: Never bite into the donuts immediately out of the pan. Molten sugar can cause severe burns, and the signature shattering crunch only develops once the glaze has had a minute to air-dry and solidify.
- Watch the Heat: Do not be afraid of a medium burner, but stay vigilant. Sugar transitions from perfectly caramelized to burnt within a matter of sixty seconds, so keep a close eye on the pan!
Recipe Variations
- The Decadent Bananas Foster: Two minutes before the donuts are finished frying, toss a few thin slices of fresh banana and a tablespoon of brown sugar into the skillet, creating an intensely rich, caramelized fruit topping.
- The Sweet & Spicy Kick: Dust the melted butter with a tiny pinch of cayenne pepper and smoked paprika before adding the dough to create an incredible sweet-and-savory heat profile.
- The Berries & Cream Bistro Twist: Top the hot, caramelized donut slices with a generous spoonful of fresh raspberries and a ribbon of cool, unsweetened whipped cream for a bright, Mediterranean-inspired finish.
What to Serve With It
These versatile pan-fried pastries pair beautifully with a wide array of after-dinner treats or brunch drinks. They act as the absolute perfect companion to a scoop of premium vanilla bean ice cream melting right over the hot caramel crust, as the temperature contrast elevates the dish to restaurant-quality status. If you are hosting a holiday gathering or weekend brunch, serving them alongside a hot cup of traditional espresso, a steaming mug of chai tea, or a glass of crisp sparkling dessert wine will instantly steal the spotlight.
Storage & Reheating Tips
Because the sugar glaze is completely altered during the frying process, this dish is best enjoyed the absolute day it is made. If you miraculously have leftovers, store them in an airtight container at room temperature for up to 24 hours. To preserve that incredible crunch when reheating, avoid the microwave at all costs—it will turn the sugar unpleasantly gummy, chewy, and soft. Instead, drop them into an air fryer at 350°F for 2 minutes, or spread them onto a baking sheet and pop them into a 380°F oven for 4 to 5 minutes until the sugar bubbles and the crust is fully re-crisped.
Common Mistakes to Avoid
- Using Reduced-Fat Spreads: Substituting real butter with watered-down light versions introduces excess liquid that will bleed into the dough, steam-rolling your crust within minutes.
- Flipping Too Early: Let the donuts cook completely undisturbed for the first couple of minutes so they can build a solid caramelized wall against the iron before you try to move them.
- Slicing the Dough Too Thin: If you cut your donuts into slices less than half an inch thick, they will burn rapidly in the intense heat or crack entirely under the weight of the spatula during the flip.
Frequently Asked Questions (FAQs)
Can I use store-bought donut holes for this recipe?
Absolutely! You can use glazed donut holes instead of whole donuts. Just toss them continuously in the hot melted butter for 2 to 3 minutes until all sides are uniformly blistered, golden-brown, and crispy.
Will the dessert taste overly salty if I add salt to the butter?
Not at all! The tiny pinch of kosher salt completely balances the intense sweetness of the concentrated glaze, enhancing the natural buttery flavors of the dough without leaving any lingering harsh saltiness.
Can I prep these pan-fried donuts ahead of time?
For the absolute best results, it is highly recommended to fry them right before you intend to eat them. However, you can slice the donuts hours in advance and keep them covered on a plate at room temperature so they are ready to hit the skillet the second dinner winds down.
Why did my donuts stick permanently to the skillet?
This usually happens if the skillet wasn’t preheated to a high enough temperature or if there wasn’t enough butter in the pan. Ensure your butter is completely melted and foaming before adding the dough, and let the sugar build a solid crust for a full 2 minutes before moving it.
Final Thoughts
There is absolutely no need to spend a fortune at an upscale restaurant or hire a professional caterer just to enjoy impeccable, creative dessert pastries. With a humble box of glazed spuds and a single spoonful of standard pantry butter, you can easily replicate high-end culinary magic right in your own kitchen. This pan-fried Krispy Kreme recipe is a stellar testament to how simple food science and smart kitchen preparation can completely transform everyday, budget-friendly ingredients. Give it a try tonight, and watch your family and friends marvel at the flakiest, crispiest, and most indulgent dessert hack they have ever tasted.