How to Make the Ultimate Grilled Brown Sugar Pineapple
We have all been there: you fire up the backyard grill, prep your favorite cuts of protein, and envision a picture-perfect dinner. You lay the main course down, wait for that spectacular sizzle, and enjoy a wonderful meal. But when dinner winds down, you realize your dessert options feel uninspired. Enter the ultimate solution for effortless outdoor entertaining: The Brown Sugar Grilled Pineapple. This genius dish delivers a spectacular contrast of textures—a warm, deeply caramelized, sweet outer crust meets a juicy, refreshing, and slightly tangy interior that completely wakes up your palate. It proves that you do not need expensive specialized equipment or hours of complicated culinary training to achieve dessert perfection right in your own backyard.
The secret to keeping your fruit incredibly juicy—and avoiding a mushy or tragically mediocre result—relies on basic food science using a common pantry staple you likely already own. By layering your sweeteners directly onto the fruit before it hits the fire, you create a protective, high-heat barrier between the fruit and the grill grates. When the intense heat hits this layer, the sugars rapidly reduce and caramelize without burning the delicate fruit beneath, trapping natural moisture inside. Once you learn this simple, game-changing method, you will never cook fruit over an open flame the old way again. Get ready to elevate your weekend barbecues and completely impress your dinner guests with the most budget-friendly, show-stopping grilling trick imaginable.
Why You’ll Love This Recipe
- Incredibly Budget-Friendly: You do not need expensive specialty ingredients ; you only need a single whole pineapple, a scoop of brown sugar, and a few basic pantry spices, keeping your total grocery cost exceptionally low.
- Better-Than-Restaurant Texture: This method triggers a rapid caramelization that creates a deeply blistered, shattering exterior crust while keeping the center incredibly tender and succulent.
- Set It and Forget It Quick Prep: Once your fruit is sliced, the hands-on assembly takes less than five minutes, and the grill does all the heavy lifting in a flash.
- Infinitely Customizable: While the classic cinnamon and brown sugar combination is flawless, this technique serves as a blank canvas for any of your favorite sweet spreads, spicy kicks, or wood-smoke profiles.
Ingredients You’ll Need
- Fresh Pineapple: 1 large, ripe but firm whole pineapple
- Brown Sugar: 1/2 cup, packed (dark or light brown sugar works beautifully)
- Ground Cinnamon: 1 teaspoon (to enhance the warm flavor profile)
- Kosher Salt: A tiny pinch (the magic ingredient to balance the intense sweetness)
- Olive Oil or Melted Butter: 2 tablespoons (to help the sugar adhere flawlessly)
Ingredient & Tool Notes
Choosing the right base components makes a massive difference in your final dish. For the fruit, opt for a medium, uniformly shaped pineapple that is ripe but still cold and firm to the touch. Avoid overly soft or watery fruits, as they will release too much moisture and turn your caramelized crust into a runny pool.
For the grill itself, ensuring your grates are thoroughly cleaned and scraped ahead of time helps the fruit release cleanly, yielding pristine, unbroken grill marks.
Step-by-Step Instructions
Step 1: Prep and Cut the Pineapple
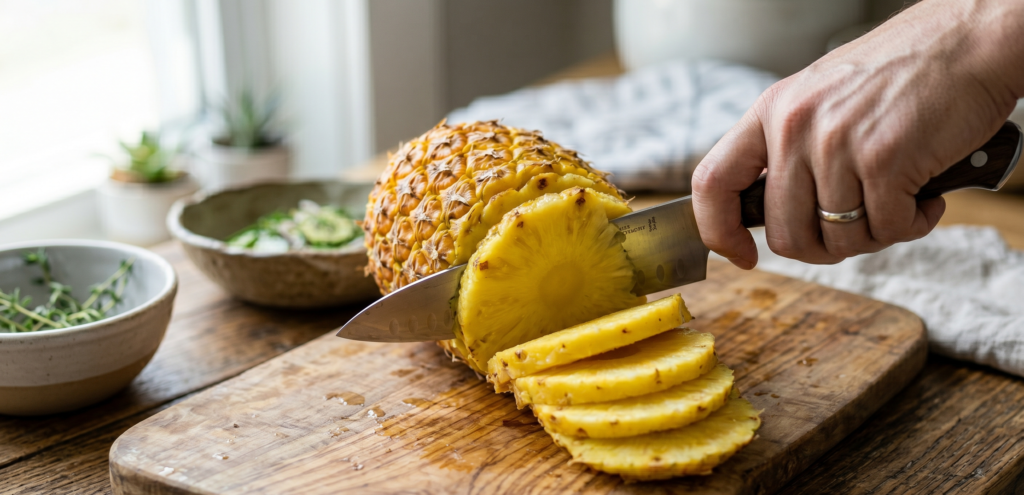
Thoroughly clean your workspace and place the pineapple on a large wooden cutting board. Using a sharp chef’s knife, slice off the top leafy greens and the bottom base so the pineapple can stand upright. Carefully shave away the tough outer skin, slicing downward following the curve of the fruit. Cut the pineapple diagonally or into uniform, thick rounds or wedges—aim for roughly 1/2-inch to 3/4-inch thick pieces. Pat each piece completely dry with a paper towel.
Step 2: Dust with the Cinnamon Sugar Base
In a small mixing bowl, combine your brown sugar, ground cinnamon, and a tiny pinch of kosher salt. Mix thoroughly until uniform. Arrange your dry pineapple slices in a single layer across a large workspace or tray. Lightly brush all sides of the fruit with a thin layer of olive oil or melted butter. Dust the cinnamon sugar blend elegantly over the craggy surfaces of the pineapple, pressing the seasonings lightly with your fingers so they stay locked in place.
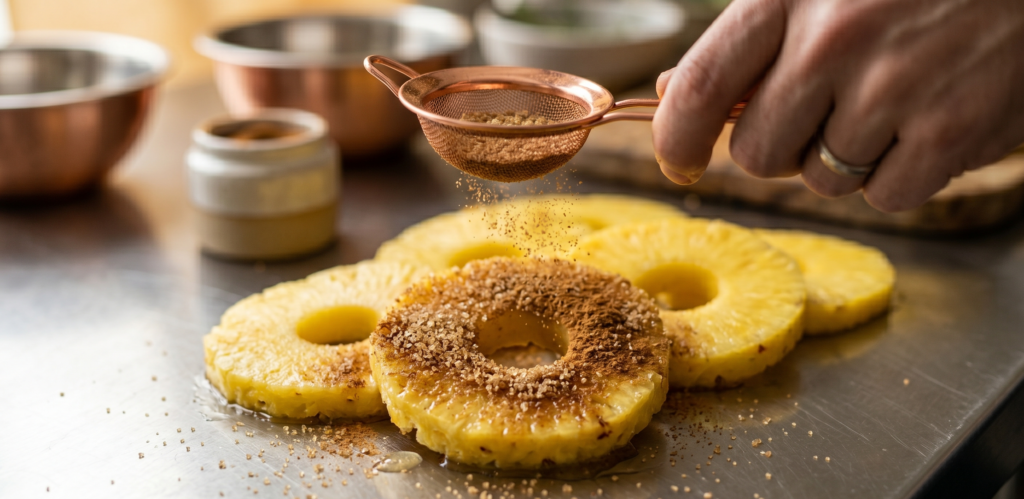
Step 3: Apply the Magic Coating
Using a pastry brush or the back of a spoon, ensure the sugar mixture forms an even, translucent layer across the entire surface of the seasoned fruit. You do not want a thick, uneven glob; a light, uniform coat is all it takes to trigger the scientific benefits of rapid caramelization. Keep the coat thin enough that you can still see the texture of the fruit underneath.
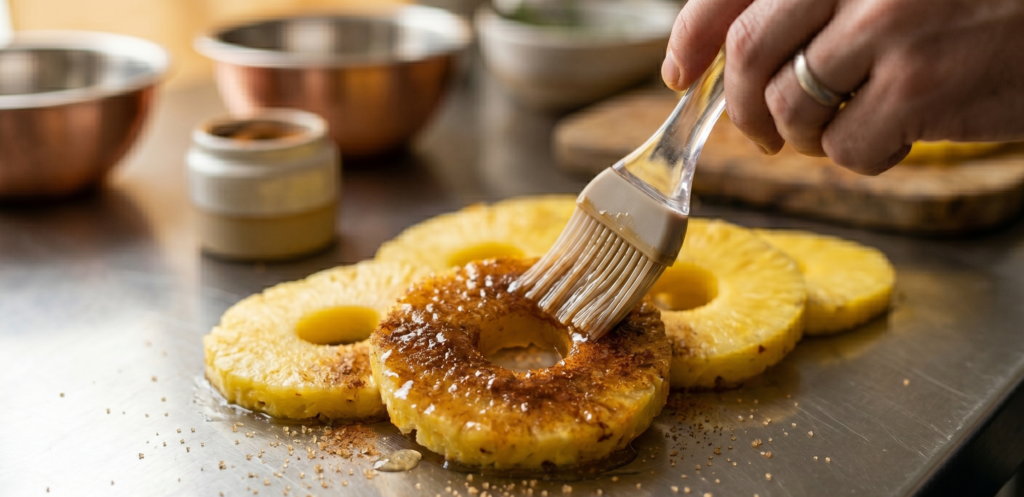
Step 4: Grill to Perfection
Preheat your outdoor gas grill or cast-iron grill pan to high heat (around 450°F to 500°F). Lay the coated fruit pieces directly onto the hot grates, ensuring they aren’t crowding one another. Let them cook undisturbed for 4 to 5 minutes. Do not attempt to move them early; this method relies on direct, intense heat to properly blister and caramelize the sugars before the interior can dry out or get soggy.
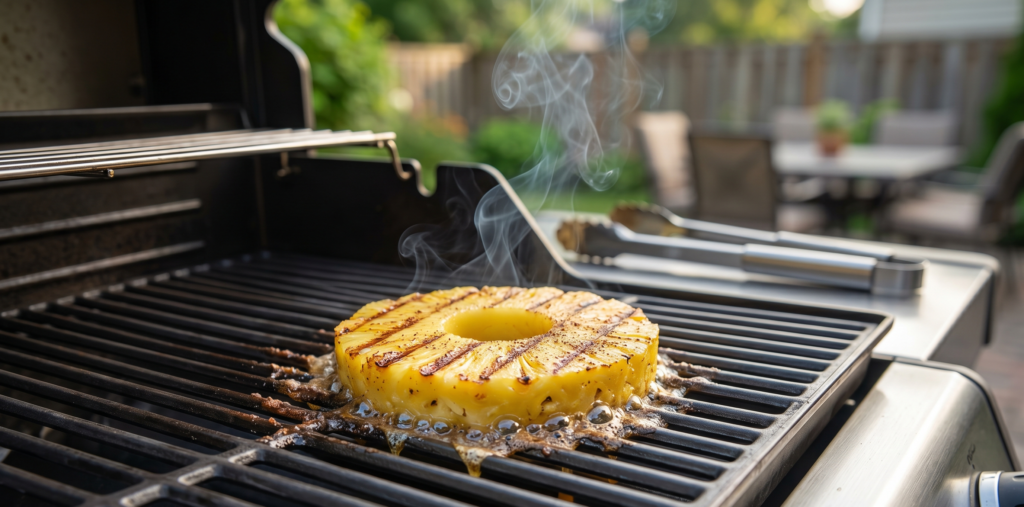
Step 5: Flip and Rest
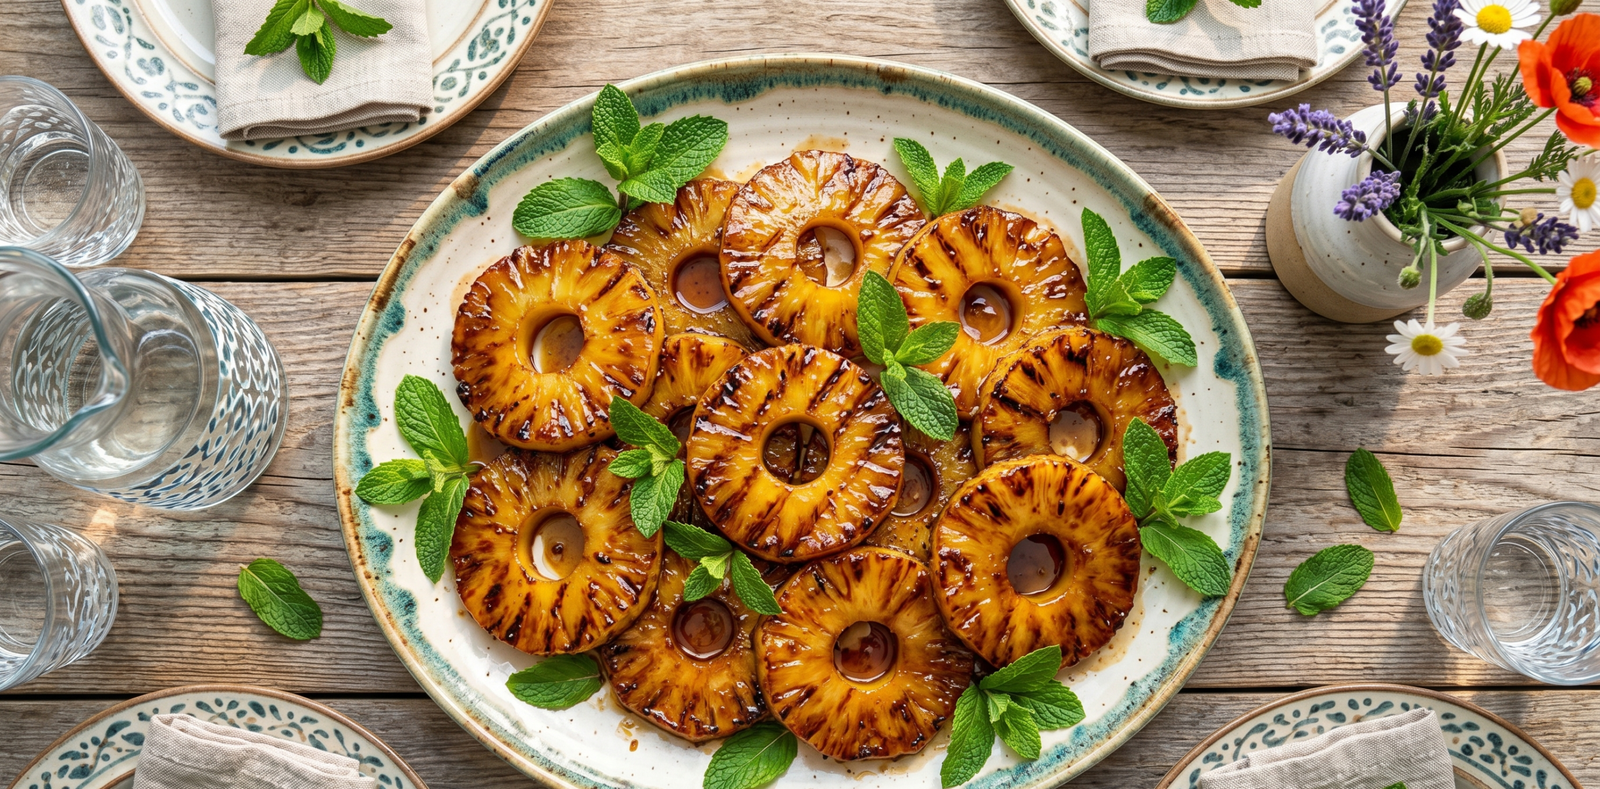
Carefully slide a sturdy spatula or tongs underneath the fruit and flip it over effortlessly. Cook for an additional 3 to 5 minutes until the second side becomes golden, lightly blistered, and fully caramelized. Remove the hot, crispy fruit from the skillet or grill and transfer them onto a gorgeous ceramic serving platter. Let them sit quietly for about two minutes to allow the hot sugar crust to set perfectly before serving.
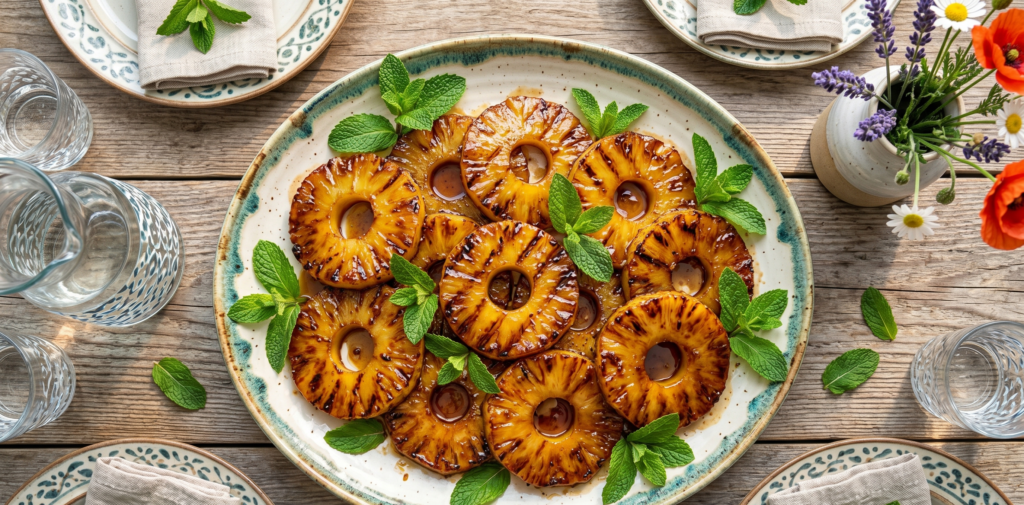
Tips for Perfect Results
- Don’t Over-Apply the Sugar: Spreading too thick of a layer of sugar on the fruit will cause it to melt excessively and flare up over an open flame. Keep it thin and even.
- Let the Grates Get Hot: Do not be afraid of intense heat. High heat is essential to achieve that steakhouse-quality charred edge before the fruit turns soft and releases too much internal liquid.
- Never Use Watered-Down Syrups: Substituting the real brown sugar base with thin, low-calorie liquid sweeteners introduces excess moisture that will bleed into the fruit, steam-rolling your crust and leaving it soft instead of shattering and crisp.
Recipe Variations
- The Sweet & Spicy Kick: Toss the brown sugar and cinnamon with a half-teaspoon of smoked paprika and a pinch of cayenne pepper before coating the fruit to create an incredible sweet-and-savory heat profile.
- The Decadent Rum Glaze: Mix your brown sugar with a tablespoon of premium dark rum or vanilla extract before brushing it onto the fruit for an intensely rich, caramelized depth of flavor that mimics high-end bistro desserts perfectly.
- The Tropical Mint Twist: Substitute the cinnamon for fresh lime zest, and squeeze the juice of half a fresh lime over the hot pineapple slices just before serving for a bright, Mediterranean-inspired twist.
What to Serve With It
These versatile grilled pineapple slices pair beautifully with a wide array of after-dinner treats or casual barbecue sides. They act as the absolute perfect companion to a scoop of premium vanilla bean ice cream melting right over the hot caramel crust. If you are hosting a holiday gathering or backyard social hour, serving them alongside a fresh charcuterie board or a glass of crisp sparkling dessert wine will instantly steal the spotlight.
Storage & Reheating Tips
If you miraculously have leftovers, store them in an airtight container in the refrigerator for up to 3 days. To preserve that incredible crunch when reheating, avoid the microwave at all costs—it will turn the fruit unpleasantly gummy, chewy, and soft.
Instead, spread the leftovers back onto a baking sheet and pop them into a 400°F (200°C) oven or toaster oven for 5 to 7 minutes until the sugar bubbles and the crust is fully re-crisped. Alternatively, they reheat spectacularly in an air fryer at 380°F for 3 to 4 minutes.
Common Mistakes to Avoid
- Grilling Wet Fruit: Skipping the initial step to pat your pineapple dry means you are trapping water beneath the sweet layer, which steam-rolls your crust and leaves it soft instead of crisp.
- Flipping Too Early: Let the fruit cook completely undisturbed for the first few minutes so it can form a solid caramelized crust against the iron before you try to move it.
- Slicing the Fruit Too Thin: If you cut your pineapple slices less than 1/4-inch thick, they will burn rapidly in the intense heat or crack entirely under the weight of the spatula during the flip.
Frequently Asked Questions (FAQs)
Will my dessert taste overly salty if I add the salt?
Not at all! The tiny pinch of kosher salt completely balances the intense sweetness of the brown sugar, enhancing the natural flavors of the fruit without leaving any lingering harsh saltiness.
Can I prep the pineapple ahead of time?
Yes! You can slice, dry, and coat the pineapple with the spice rub and sugar up to a few hours in advance. Keep the slices covered on a plate in the refrigerator, then place them directly onto the hot grill when you are ready to serve dinner.
Why did my fruit stick to the grill grates?
This usually happens if the grates weren’t sufficiently cleaned and oiled, or if you tried to flip the fruit too early. Ensure your grill is preheated to a high temperature and let the pineapple build a solid crust for a full 4 minutes before moving it.
Can I use this trick on an indoor cast-iron skillet?
Absolutely! This technique works spectacularly well on indoor cast-iron pans, flat-top griddles, or even an air fryer, as the sugar and fat blend will create a magnificent steakhouse-quality dessert crust regardless of the heat source.
Final Thoughts
There is absolutely no need to spend a fortune at an upscale restaurant just to enjoy impeccable summer desserts. With a single whole pineapple and a handful of basic pantry ingredients, you can easily replicate high-end culinary magic right in your own backyard. This grilling trick is a stellar testament to how simple food science can completely transform everyday cooking. Give it a try tonight, and watch your family and friends marvel at the crispiest, juiciest dessert they have ever tasted.