How to Turn Cottage Cheese Into Perfect Creamy Ice Cream
We have all been there: you are hit with a sudden, intense craving for a rich, velvety scoop of premium ice cream, but you want something that aligns with your health goals without sacrificing that luxurious mouthfeel. You look through your options, only to find low-calorie alternatives that turn out unpleasantly icy, chalky, or aggressively average. But what if I told you that the secret to achieving dessert perfection—complete with a soft-serve texture and a massive protein boost—doesn’t require a commercial ice cream maker, an expensive appliance, or hours of churning?
Enter the ultimate solution for effortless, healthy treating: Cottage Cheese Ice Cream. This genius dessert hack delivers a spectacular contrast of experiences—a velvety, cloud-like, and rich frozen base meets your favorite sweet mix-ins, completely waking up your palate. It proves that you do not need a massive grocery bill or professional pastry training to achieve absolute dessert perfection right in your own kitchen. The secret behind why this technique functions so beautifully relies on basic food science and a common refrigerator staple you likely already own. By running full-fat cottage cheese through a high-speed blender, you break down its signature curds completely, transforming it into a smooth, emulsified canvas that freezes into a decadent treat. Once you learn this simple, game-changing method, you will never look at healthy desserts the old way again. Get ready to elevate your weeknight treats and completely impress your fitness-minded friends with the most budget-friendly, show-stopping dessert trick imaginable.
Why You’ll Love This Recipe
- Incredibly Budget-Friendly: You only need a standard tub of cottage cheese, a drizzle of maple syrup or honey, and a splash of vanilla extract, keeping your total grocery cost exceptionally low.
- Better-Than-Restaurant Texture: This blending and freezing technique maximizes the creaminess of the dairy fats, creating a thick, smooth base that handles sweet mix-ins beautifully.
- Set It and Forget It Quick Prep: The hands-on assembly takes less than five minutes of blending, and your freezer does all the heavy lifting in a flash.
- Infinitely Customizable: While the classic vanilla bean and honey profile is flawless on its own, this technique serves as a blank canvas for any of your favorite fruits, nut butters, chocolate chips, or crushed cookies.
Ingredients You’ll Need
- Cottage Cheese: 16 oz (1 tub) of full-fat (4%) cottage cheese
- Honey or Pure Maple Syrup: 3 to 4 tablespoons (for a rich, natural sweetness)
- Pure Vanilla Extract: 1 teaspoon (to establish that warm flavor profile)
- Mix-ins of Choice: 1/4 cup of chocolate chips, crushed graham crackers, or fresh fruit purée (optional)
Ingredient Notes & Substitutions
Choosing the right base components makes a massive difference in your final dessert. The cottage cheese is the absolute foundation here; a high-quality, full-fat (4%) small curd cottage cheese is preferred because its higher fat and lower water content yield a uniform, creamy texture that mimics traditional ice cream perfectly. Avoid fat-free or low-fat varieties if possible, as they contain excess water that will turn into a runny pool or form hard ice crystals in the freezer, leaving your dessert unpleasantly icy instead of smooth and thick.
When it comes to the sweetener, thick honey or pure maple syrup works beautifully to bind the moisture and create that signature velvety body. Substituting these thick sweeteners with thin, watered-down low-calorie syrups introduces excess liquid that will bleed into the base, steam-rolling your texture within minutes. Finally, for your mix-ins, ensure any fruit additions are patted dry or reduced down; introducing watery, raw fruit can throw off the delicate balance and cause unwanted separation during the freezing process.
Step-by-Step Instructions
Step 1: Blend the Base to Silky Smoothness
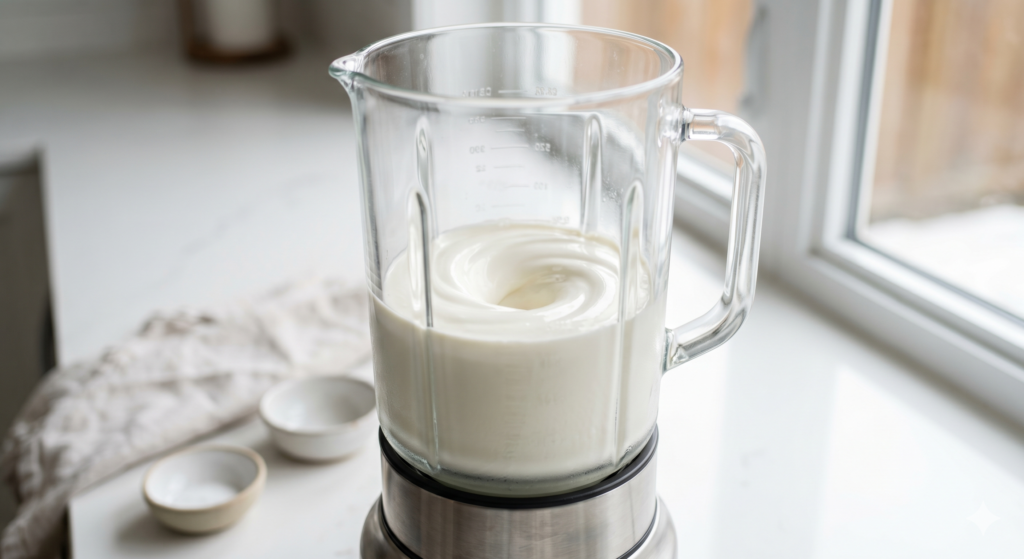
Place your entire tub of full-fat cottage cheese, honey (or maple syrup), and vanilla extract directly into the pitcher of a high-speed blender or food processor. Secure the lid tightly and blend on high for 1 to 2 minutes, stopping to scrape down the sides with a spatula if necessary, until the curds disappear completely and the mixture transforms into a completely uniform, glossy, and velvety liquid.
Step 2: Fold in Your Custom Mix-ins
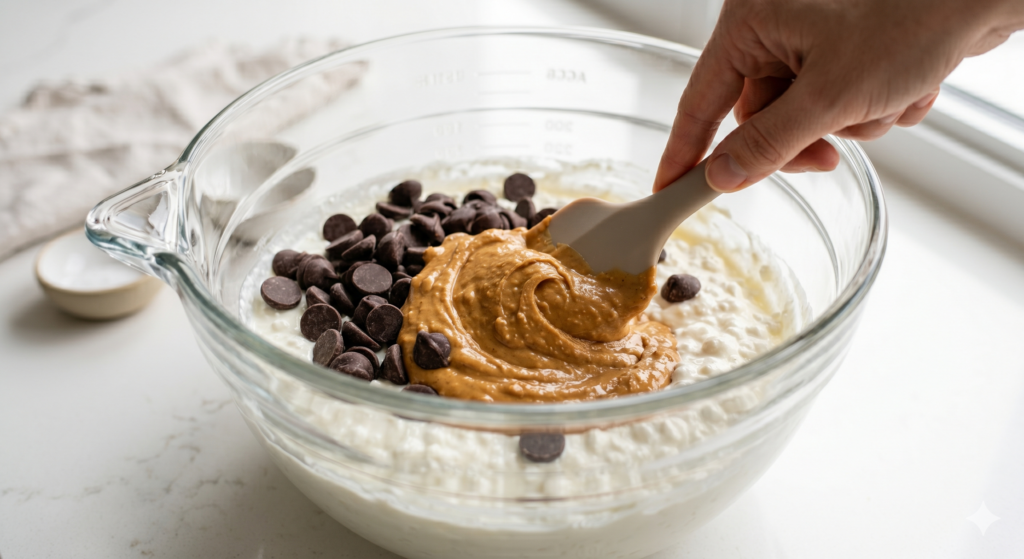
Pour the smooth mixture out of your blender and into a medium-sized mixing bowl, or leave it directly in the original cottage cheese container to save on dishes. Add your favorite toppings—such as a generous handful of dark chocolate chips, a swirl of creamy peanut butter, or fresh strawberry pieces—and use a silicone spatula to gently fold them over themselves until evenly distributed throughout the cream.
Step 3: Transfer and Prep for Freezers
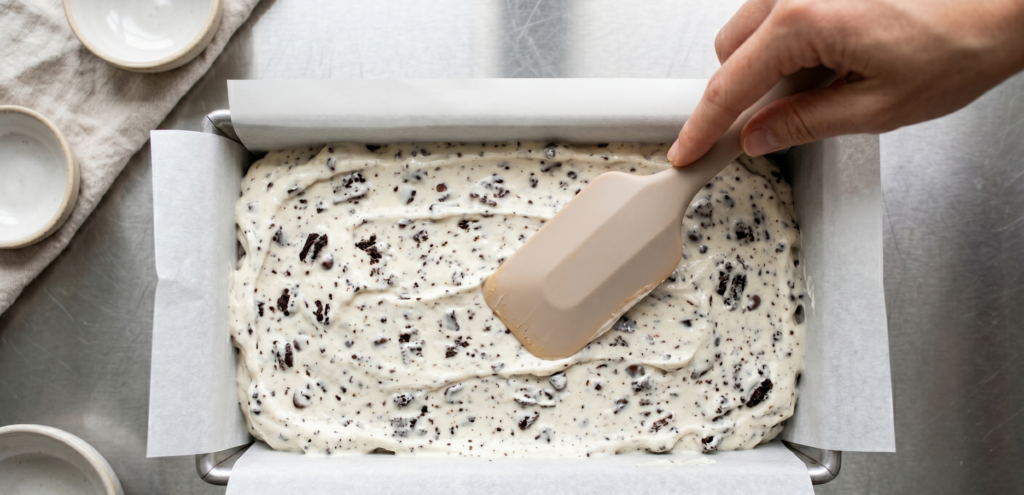
Pour your fully assembled ice cream mixture cleanly into a standard loaf pan lined with parchment paper, or transfer it back into the plastic cottage cheese tub. Smooth the top surface gently with the back of a spoon, and if desired, scatter a few extra chocolate chips or cookie crumbs across the top surface to build a gorgeous, textured layer.
Step 4: Freeze and Stir Periodically
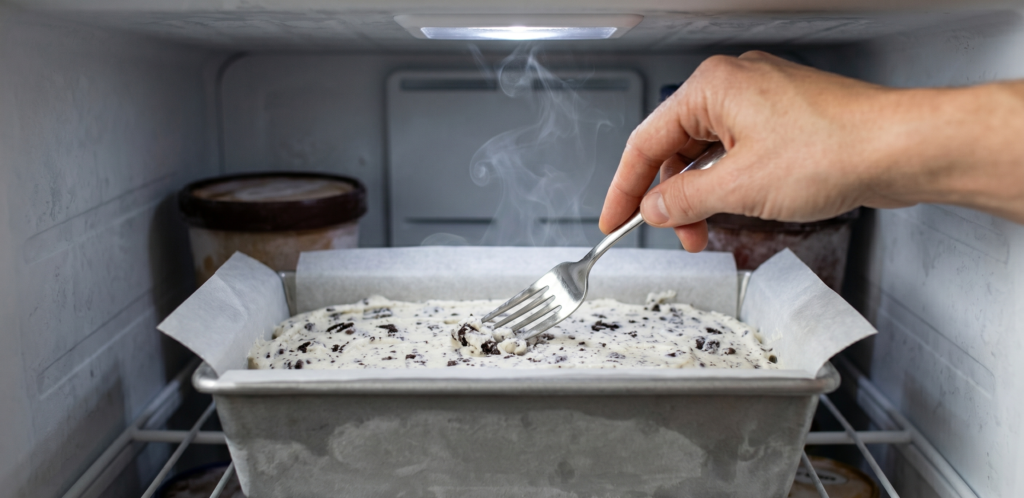
Pop the container uncovered into the coldest part of your freezer. Let it freeze undisturbed for the first hour, then use a sturdy fork or spatula to vigorously stir the mixture from the edges inward; repeat this stirring process every 30 minutes for a total of 2 to 3 hours until it reaches a perfect soft-serve consistency.
Step 5: Scoop and Serve Immediately
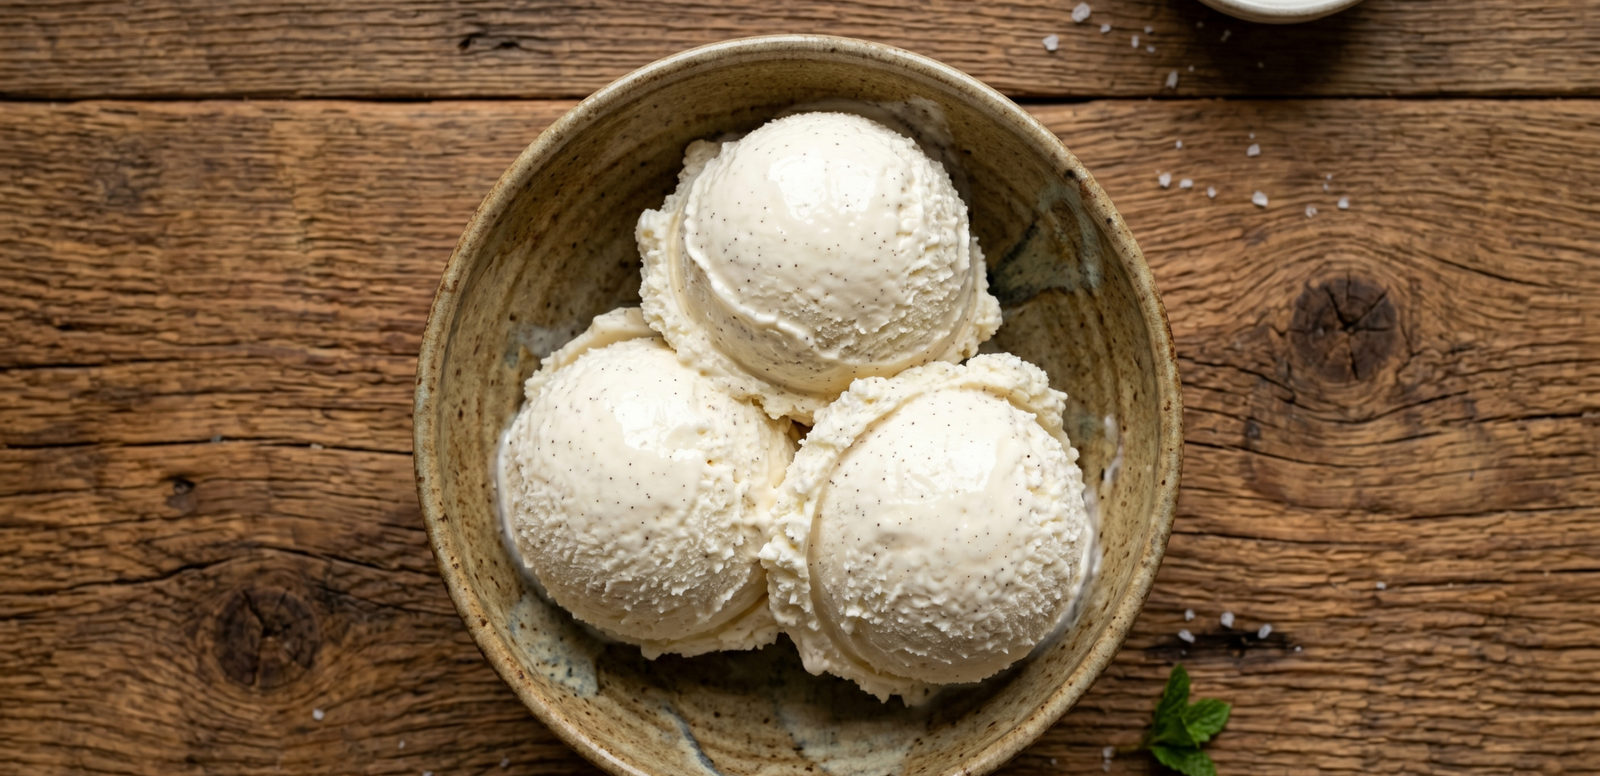
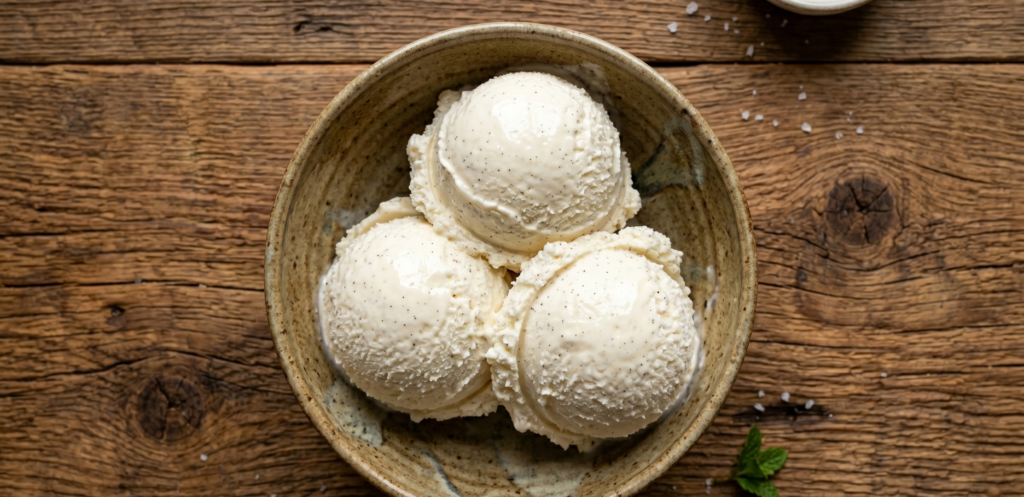
Remove the container from the freezer and let it sit quietly on the counter for 3 to 5 minutes to soften slightly. Use a heavy, warm ice cream scoop to glide effortlessly through the dense dessert, creating beautiful uniform rounds, and transfer them into a gorgeous ceramic serving bowl garnished with a final drizzle of honey or a fresh mint leaf.
Tips for Perfect Results
- Don’t Skip Full-Fat Dairy: Full-fat (4%) cottage cheese is essential to achieve a steakhouse-quality dessert texture; low-fat alternatives lack the fat structure needed to prevent large ice crystals from forming.
- Stir While Freezing: Making the effort to stir the ice cream every 30 minutes breaks up any early crystallization, ensuring your final treat remains pillowy and soft instead of turning into a solid block of ice.
- Watch the Freezer Time: Because this recipe contains zero chemical stabilizers or processed emulsifiers, leaving it in the freezer for more than 4 hours straight will turn it completely hard. If you freeze it overnight, let it sit on the counter for 15 to 20 minutes to soften up before scooping.
Recipe Variations
- The Strawberry Cheesecake Twist: Fold 3 tablespoons of fresh strawberry purée and 1/4 cup of crushed graham cracker pieces directly into the blended base before freezing for an incredibly authentic, rich flavor profile.
- Peanut Butter Chocolate Fusion: Blend 2 tablespoons of creamy peanut butter directly into the cottage cheese mixture, then fold in dark chocolate chunks to create an incredible sweet-and-savory dessert crunch.
- The Double Chocolate Masterpiece: Add 2 tablespoons of high-quality unsweetened cocoa powder and an extra tablespoon of maple syrup into the blender to create a deeply rich, chocolatey base that mimics high-end bistro desserts perfectly.
What to Serve With It
These versatile scoops pair beautifully with a wide array of after-dinner treats or casual social spreads. They function as the absolute perfect companion to a warm slice of homemade apple pie, a hot fudgy brownie, or a handful of fresh seasonal berries. If you are hosting a holiday gathering or weekend brunch, serving a scoop alongside a fresh fruit platter or a hot cup of traditional espresso will instantly steal the spotlight, as the temperature contrast elevates the dish to restaurant-quality status.
Storage Tips
If you miraculously have leftovers, store them in a tightly sealed, airtight container inside the freezer for up to 2 weeks. To preserve that incredible texture when enjoying later, avoid using a microwave to thaw it—the direct heat will melt the delicate fat structures and turn your velvety treat into a runny, separated pool. Instead, simply place the container on your kitchen counter for 15 to 20 minutes before serving, allowing it to naturally soften back into its signature, creamy state.
Common Mistakes to Avoid
- Under-Blending the Base: Stopping your blender too early means leaving behind tiny fragments of curds, which will ruin your chances of getting that perfectly smooth, premium-looking ice cream texture.
- Using Liquid Low-Calorie Sweeteners: Substituting the real honey or maple syrup with thin, calorie-free liquid sweeteners introduces excess moisture that will bleed into the dairy, making your ice cream hard and icy.
- Freezing it Permanently Without Stirring: Neglecting to check on your ice cream during its first few hours in the freezer allows ice crystals to take over unchecked, leaving you with a solid, unmanageable brick.
Frequently Asked Questions (FAQs)
Will my dessert taste strongly like cottage cheese?
Not at all! The intense blending completely breaks down the physical curd structure, and the combination of vanilla extract and natural sweeteners beautifully masks any lingering tangy flavors. It leaves behind only a rich, neutral, and incredibly creamy dairy base that mimics high-quality frozen custard perfectly.
Can I use a low-fat or fat-free cottage cheese instead?
While you can technically use them, it is highly discouraged. Low-fat and fat-free varieties contain a much higher ratio of water to fat. When frozen, this extra water turns into hard, crunchy ice shards, steam-rolling your chances of keeping that ultra-smooth, creamy texture.
Why did my ice cream turn into a rock-hard brick overnight?
Because this homemade recipe uses entirely natural pantry ingredients and contains zero artificial softeners, gums, or commercial stabilizers, it will naturally freeze solid over long periods. Simply let the container sit on your counter at room temperature for 15 to 20 minutes before you intend to eat it, and it will soften up beautifully.
Can I make this recipe completely sugar-free?
Sugar and thick natural syrups are crucial not just for flavor, but for binding water molecules to keep the ice cream soft and pliable. If you must use an alternative sweetener, opt for a thick, keto-approved fiber syrup rather than a thin liquid drop to help maintain the structural integrity of the dessert.
Final Thoughts
There is absolutely no need to spend a fortune on specialty fitness pints or sacrifice your wellness goals just to enjoy an impeccable, sweet treat. With a single tub of humble cottage cheese, a drizzle of honey, and a quick spin in your blender, you can easily replicate restaurant-quality culinary magic right in your own kitchen. This cottage cheese ice cream trend is a stellar testament to how simple food science and smart kitchen preparation can completely transform everyday, budget-friendly ingredients. Give it a try tonight, and watch your family marvel at the creamiest, healthiest dessert they have ever tasted.