
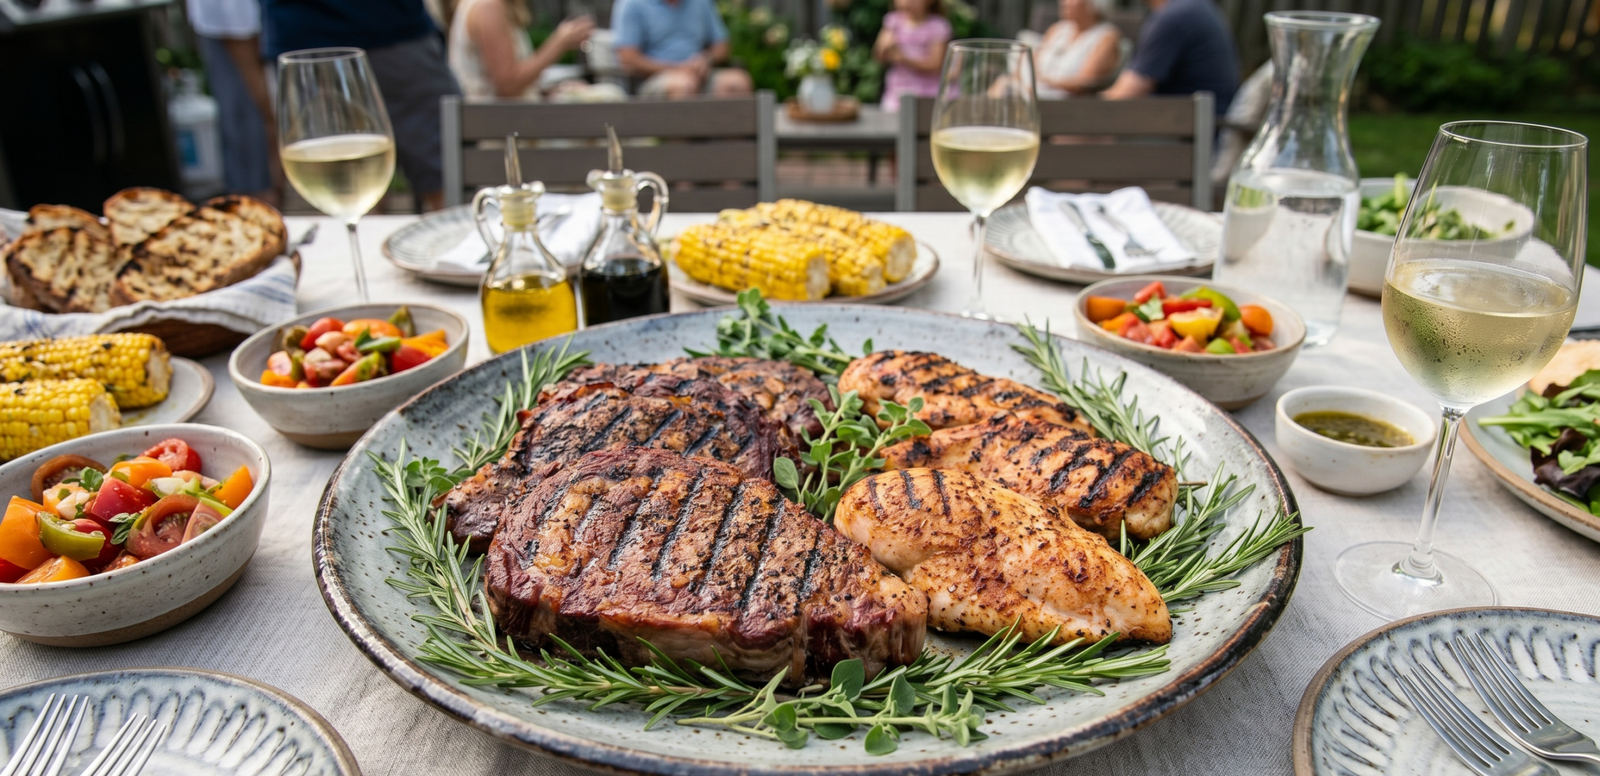
How to Grill Perfectly Juicy Meat Every Time
We have all been there: you fire up the backyard grill, prep your favorite cuts of protein, and envision a picture-perfect dinner with beautiful sear marks and a smoky, succulent interior. You lay the meat down, wait for that spectacular sizzle, and when you go to flip it… tragedy strikes. Half of the gorgeous outer crust tears away, sticking permanently to the hot grates, while the interior quickly dries out into something tragically mediocre. But what if I told you that the secret to achieving steakhouse-quality grill marks and locking in maximum juiciness doesn’t require expensive gourmet equipment or hours of marinating?
In fact, the absolute best solution relies on basic food science using a common pantry staple you likely already own. By making one simple adjustment to how you prep your meat before it hits the fire, you will unlock a stunning texture that rivals any high-end restaurant. Once you learn this method, you will never cook over an open flame the old way again. Get ready to elevate your weekend barbecues and completely impress your dinner guests with the most budget-friendly, show-stopping grilling trick imaginable.
Why You’ll Love This Trick
- Incredibly Budget-Friendly: You do not need expensive specialty oils or high-tech gadgetry; this technique utilizes a simple household condiment to achieve elite results.
- Better-Than-Restaurant Texture: This method triggers a rapid Maillard reaction, creating a deeply caramelized, savory crust that seals in natural juices perfectly.
- No More Sticking: It provides a protective, high-heat barrier between the protein and the grill grates, ensuring an effortless flip every single time.
- Infinitely Customizable: While the technique itself is standard, it serves as a flawless blank canvas for any of your favorite dry rubs, spice blends, or wood-smoke profiles.
The Secret Behind the Mayo-Searing Method
The secret to this entire technique comes down to a thin, even coat of high-quality mayonnaise brushed onto the protein right before it hits the grill. While spreading mayonnaise on raw steak, chicken, or fish might sound unusual at first, it is pure food science at work. Mayo is a stable emulsion of oil and egg yolks. Egg yolks contain protein and lecithin, which bind beautifully to the surface of meat and create a uniform layer that won’t simply melt and drip away like standard liquid oils.
When this thin layer hits the intense heat of the grill, the proteins in the egg yolk accelerate the Maillard reaction—the chemical reaction responsible for that rich, savory, golden-brown crust. Furthermore, because mayonnaise is highly viscous, it fills the microscopic ridges of the meat, trapping natural moisture inside and preventing it from evaporating into the hot air. This creates a micro-blistered, shattering exterior crust while keeping the center incredibly tender and juicy.
Ingredients & Tools You’ll Need
- Protein of Choice: 2 lbs of chicken breasts, thick-cut pork chops, ribeye steaks, or firm fish fillets (like salmon or swordfish)
- Mayonnaise: 1/4 cup of full-fat standard mayonnaise (the magic emulsion!)
- Your Favorite Dry Rub: 2 tablespoons of garlic powder, onion powder, paprika, or your go-to barbecue spice blend
- Kosher Salt and Black Pepper: To taste
Ingredient & Tool Notes
Choosing the right base components makes a massive difference in your final dish. Full-fat brick or jarred mayonnaise is the absolute star of the show here because it has the correct ratio of oil to egg yolk; avoid light or fat-free varieties, as they contain excess water and stabilizers that will steam the meat instead of searing it. For the grill itself, ensuring your grates are thoroughly cleaned and scraped ahead of time helps the emulsion release cleanly, yielding pristine, unbroken grill marks.
Step-by-Step Instructions
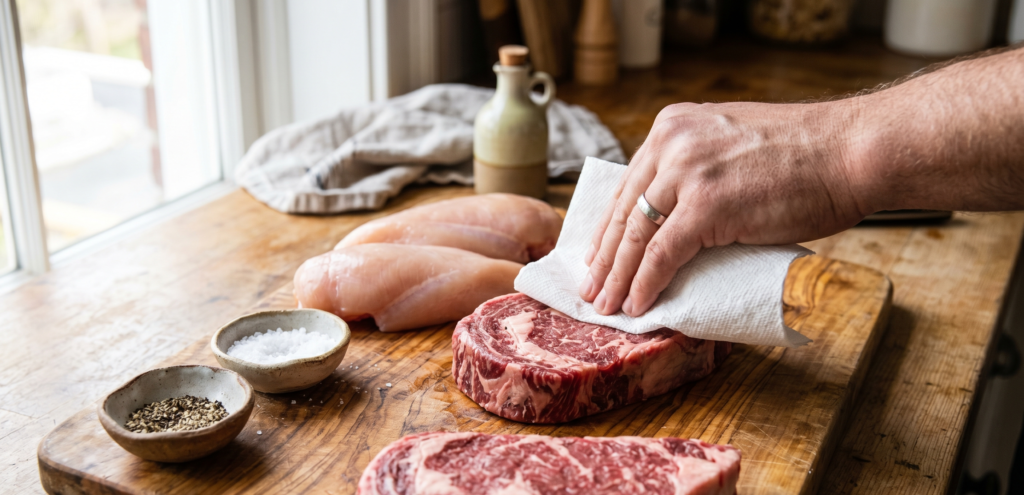
Step 1: Prep and Dry the Protein
Thoroughly pat your meat or fish completely dry on all sides using a clean paper towel. Excess surface moisture is the ultimate enemy of a perfect sear, so taking a moment to ensure the exterior is completely dry allows the seasonings and the emulsion to adhere flawlessly.
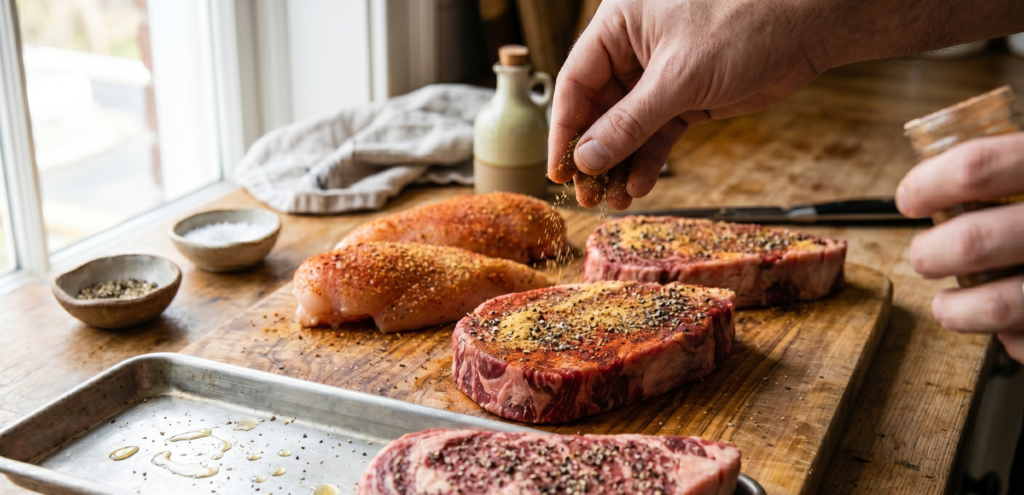
Step 2: Season Generously
Dust your dry protein evenly on all sides with your kosher salt, black pepper, and preferred spice blends. Press the seasonings lightly into the surface of the meat with your fingers so they stay locked in place.
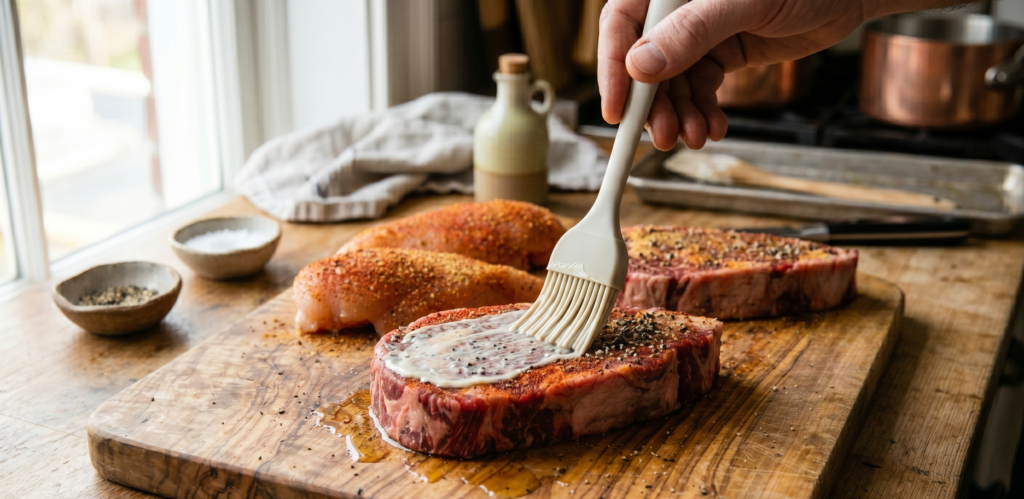
Step 3: Apply the Magic Emulsion
Using a pastry brush or the back of a spoon, apply an incredibly thin, translucent layer of mayonnaise across the entire surface of the seasoned protein. You do not want a thick glob; a light, even coat is all it takes to trigger the scientific benefits.
Step 4: Grill to Perfection
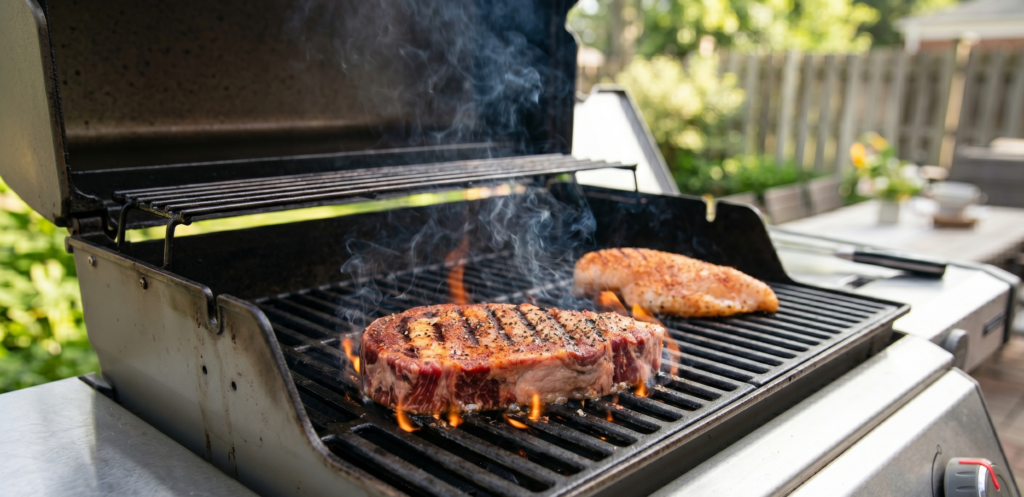
Preheat your grill to high heat (around 450°F to 500°F). Lay the coated protein directly onto the hot grates and let it cook undisturbed for 4 to 5 minutes to allow the solid crust to develop before attempting to move it.
Step 5: Flip and Rest
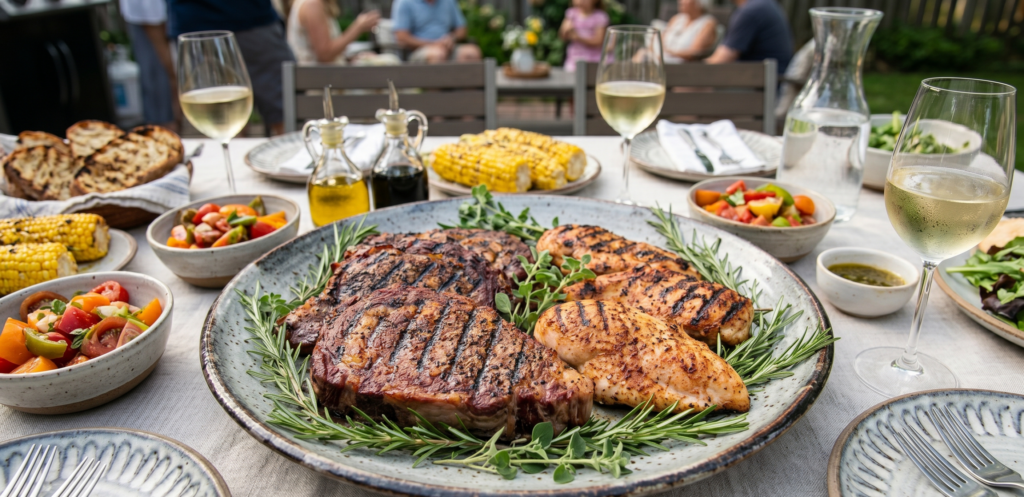
Carefully slide a sturdy spatula or tongs underneath the meat and flip it over effortlessly. Cook for an additional 3 to 5 minutes until it reaches your desired internal temperature, then transfer it to a serving platter to rest for five minutes before slicing.
Tips for Perfect Results
- Don’t Over-Apply: Spreading too much mayo on the meat will cause it to flare up over the open flame. Keep the coat thin enough that you can still see the seasonings underneath.
- Let the Grates Get Hot: Do not be afraid of intense heat. This method relies on direct, high temperatures to properly blister the egg proteins before the interior of the meat can dry out.
- Let the Meat Rest: Always give your grilled proteins 5 to 10 minutes to sit quietly under a loose sheet of foil after cooking. This allows the internal juices to redistribute cleanly instead of pooling onto your cutting board.
Common Mistakes to Avoid
- Using Reduced-Fat Spreads: Substituting real mayonnaise with watered-down light versions introduces excess liquid that will steam-roll your crust, leaving it soft instead of shattering and crisp.
- Flipping Too Early: Let the protein cook completely undisturbed for the first few minutes so it can form a solid crust against the iron before you try to move it.
- Grilling Wet Meat: Skipping the initial step to pat your protein dry means you are trapping water beneath the emulsion, which leads to a soggy exterior pool.
Frequently Asked Questions (FAQs)
Will my food taste like mayonnaise? Not at all! The intense heat of the grill completely breaks down the emulsion, vaporizing the vinegar tang and leaving behind only the scientific benefits of beautifully rendered fats and proteins with zero lingering mayo flavor.
Can I use this trick on an indoor cast-iron skillet? Absolutely! This technique works spectacularly well on indoor cast-iron pans, flat-top griddles, or air fryers, as the egg whites and oil blend will create a magnificent steakhouse crust regardless of the heat source.
Can I prep the meat with mayo ahead of time? Yes, you can apply the spice rub and a thin coat of mayonnaise up to a few hours in advance. Keep the meat covered on a plate in the refrigerator, then place it directly onto the hot grill when you are ready to serve dinner.
Does this method work on vegetables or cheese? While it is optimized for the density of proteins like chicken, beef, and fish, a light brush of mayo works wonderfully on dense vegetables like corn on the cob, sliced eggplant, or portobello mushrooms to help them caramelize without burning.
Final Thoughts
There is absolutely no need to spend a fortune at an upscale steakhouse just to enjoy perfectly charred, juicy meals. With a humble protein cut and a single spoonful of standard mayonnaise, you can easily replicate high-end culinary magic right in your own backyard. This grilling trick is a stellar testament to how simple food science can completely transform everyday cooking. Give it a try tonight, and watch your family marvel at the crispiest, juiciest dinner they have ever tasted.

Nice I will try it